
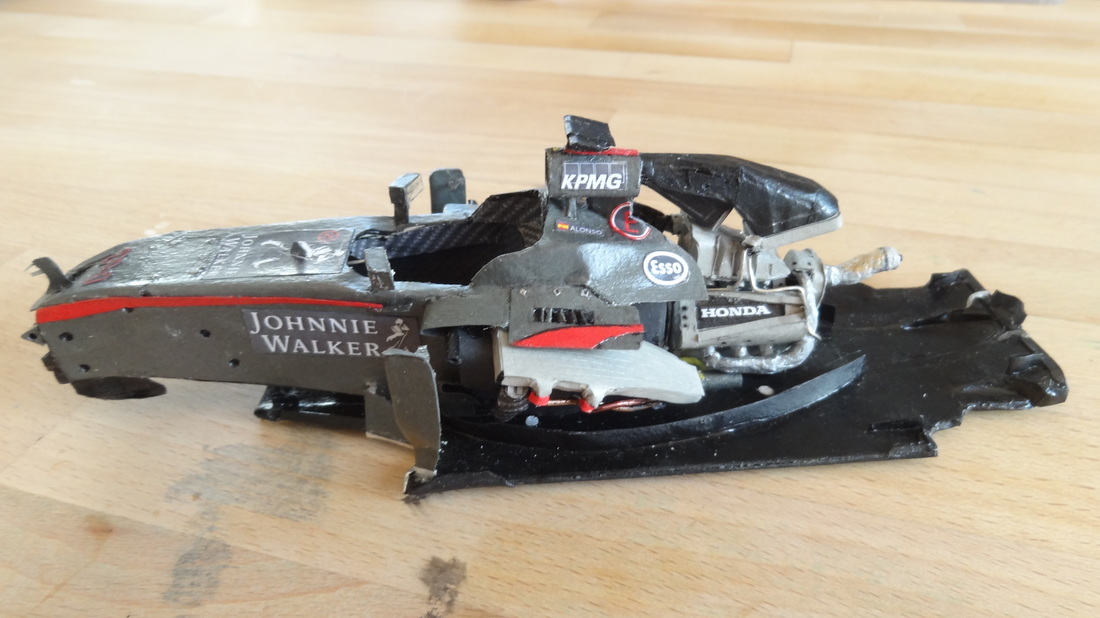
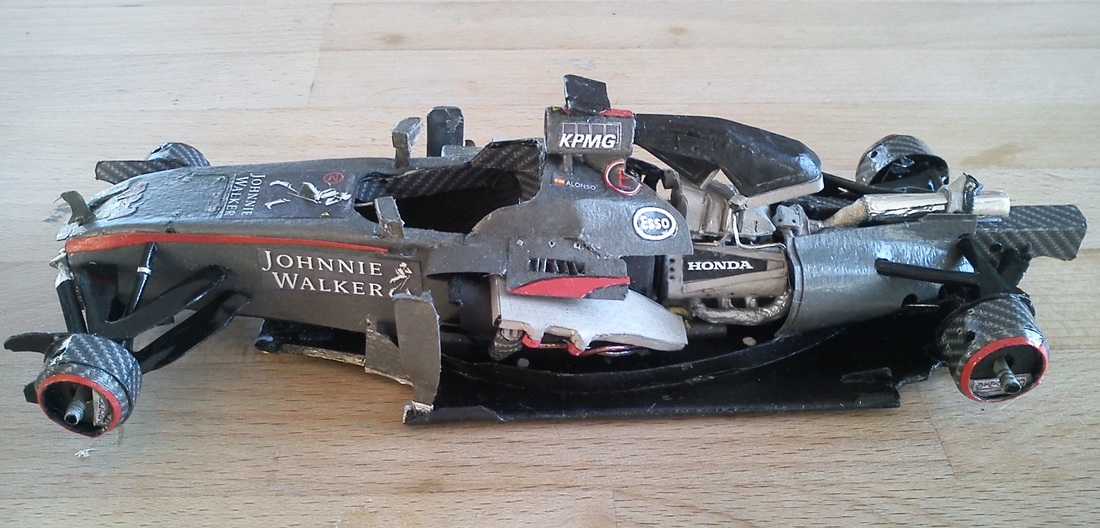
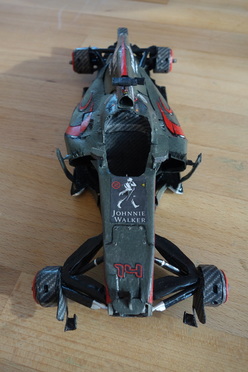
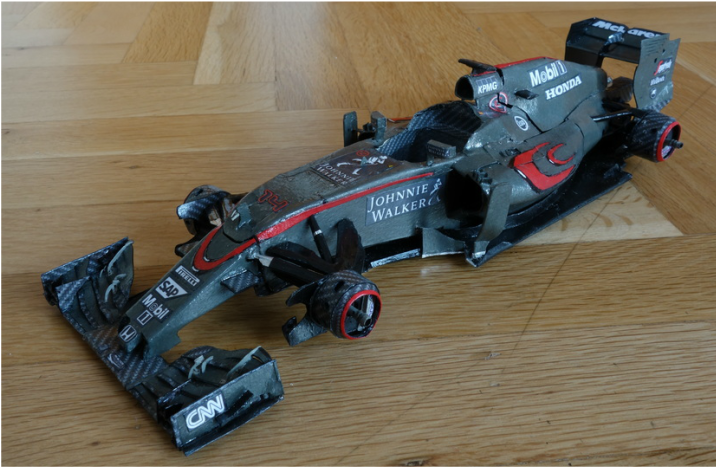
MP4-30 - 1:18 at its best
|
Started - 23.07.2015
Completed - 14.01.2016 Pieces used - 1188 Weight - 91 grams |
Scroll to the bottom to check out the result!
|
Monocoque
My focus here was to work cleanly. By that I mean that there's been no real revolution since last time. Instead, I tried to improve symmetry, surface quality and proportions. Of course, some new details were also included. And, I tried to build with the system integration (how other components fit) in mind more than before.
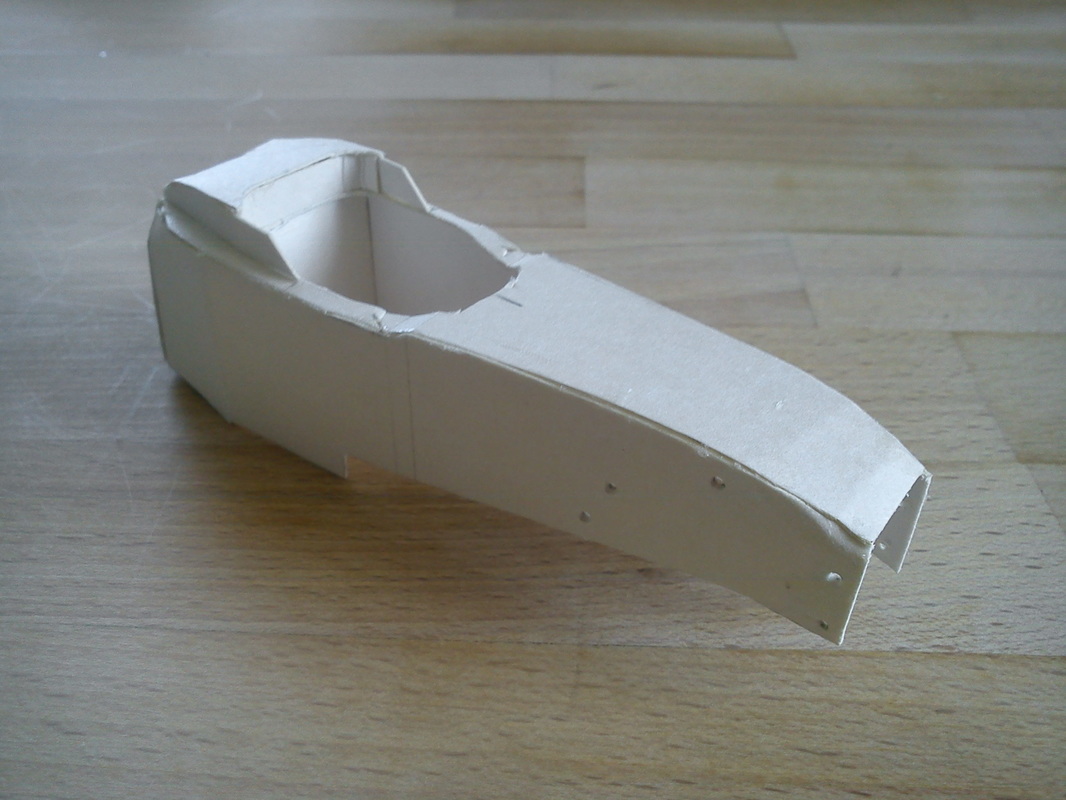
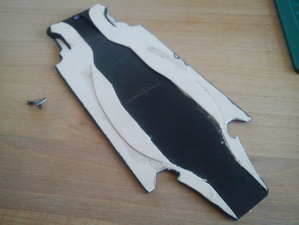
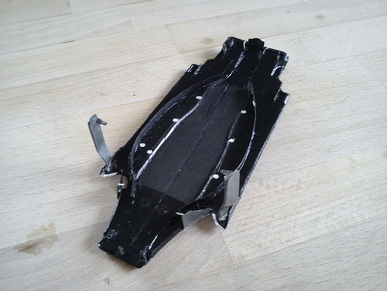
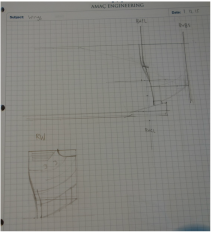
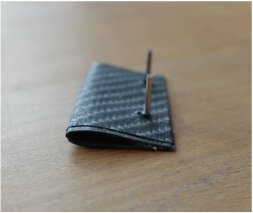
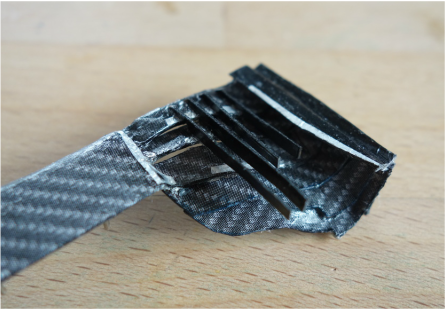
The first step was to draw initial blueprints of the car viewed from the top, as well as monocoque side- and top views. Next, I used them to create the very first part of all - the monocoque's basic shape:
|
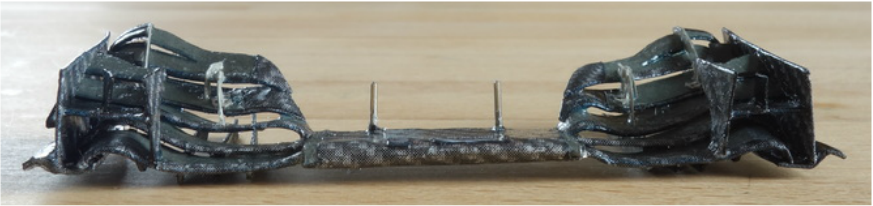
The internals of the suspension follwed:
|
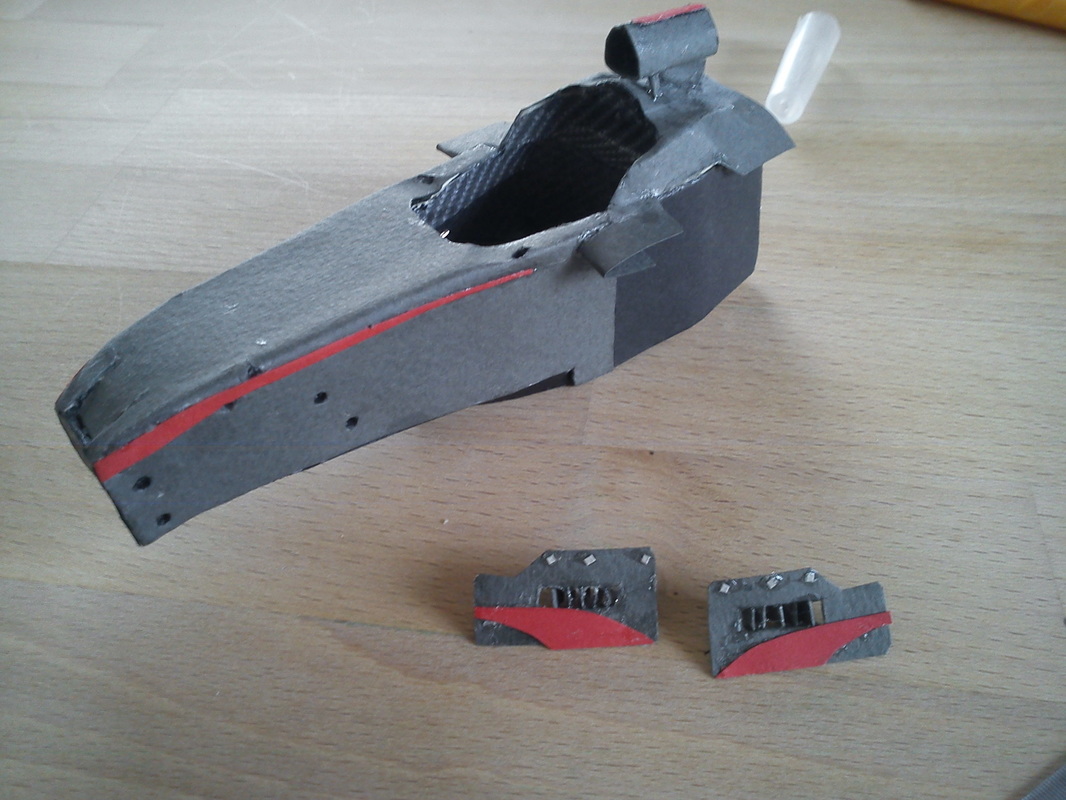
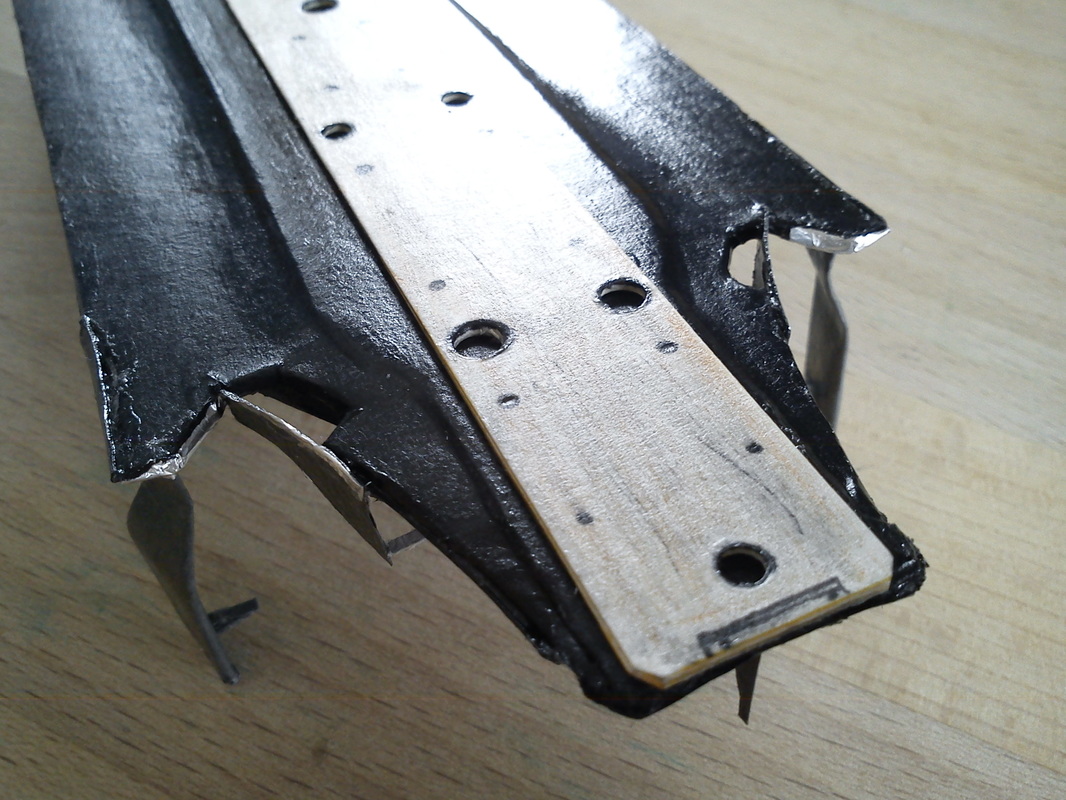
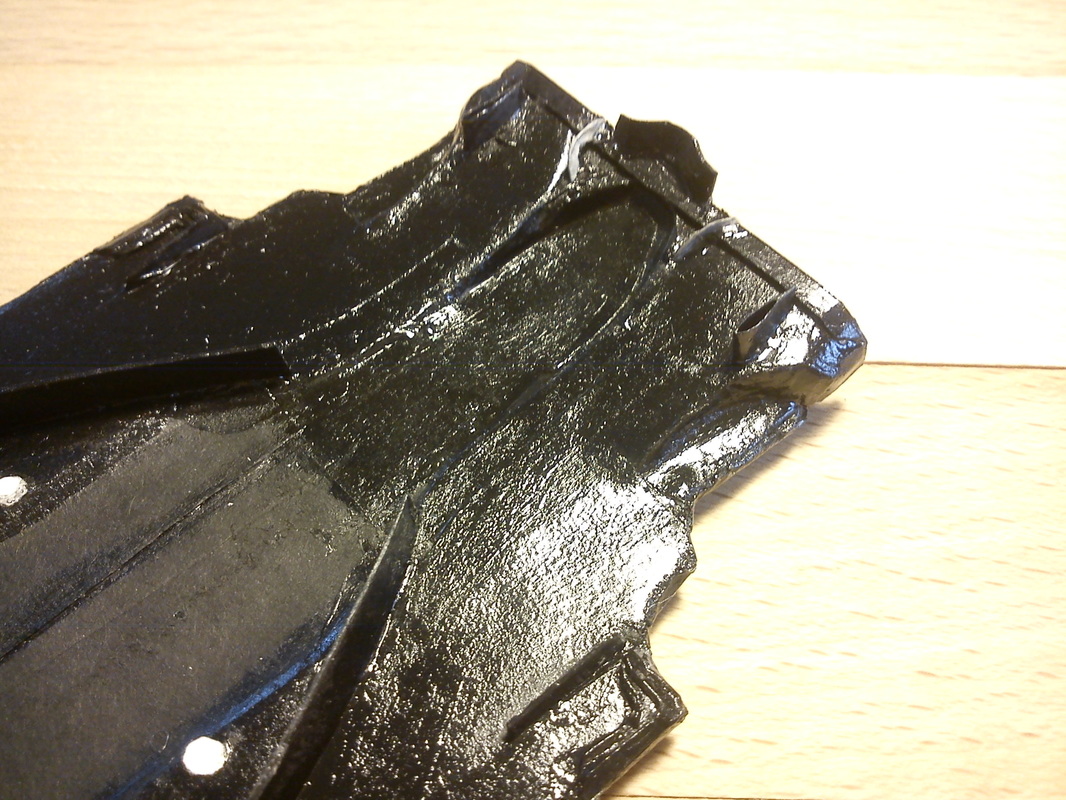
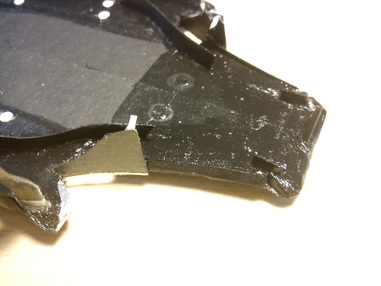
Skipping a bit, here's the closed and covered cockpit. This large grey sheet had to be cut out of one piece and glued spot on, which I didn't manage at first. The headrest area wasn't straightforward either. The piece covering it took me 5! attempts + sanding after mounting. The airbox opening caused no such trouble. The still not mounted bodywork segments have gills (also new) which were quite tiny and thus hard to be positioned correctly.
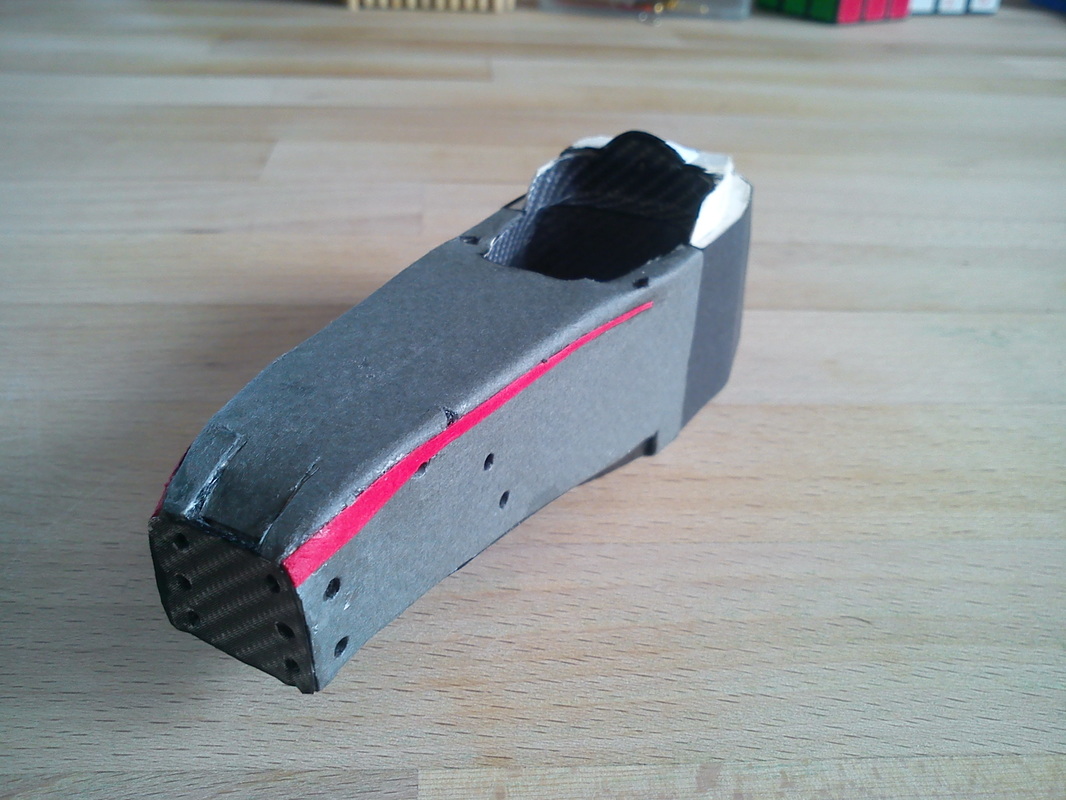

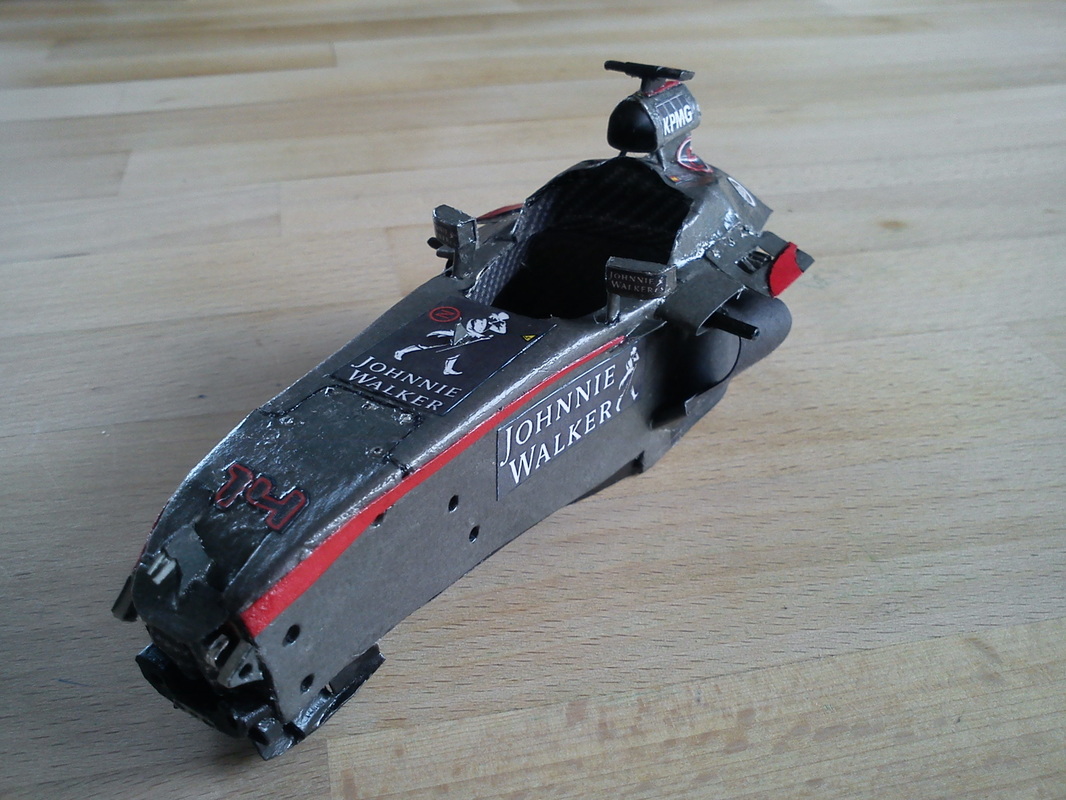
And after I applied decals and varnish, here's the result:
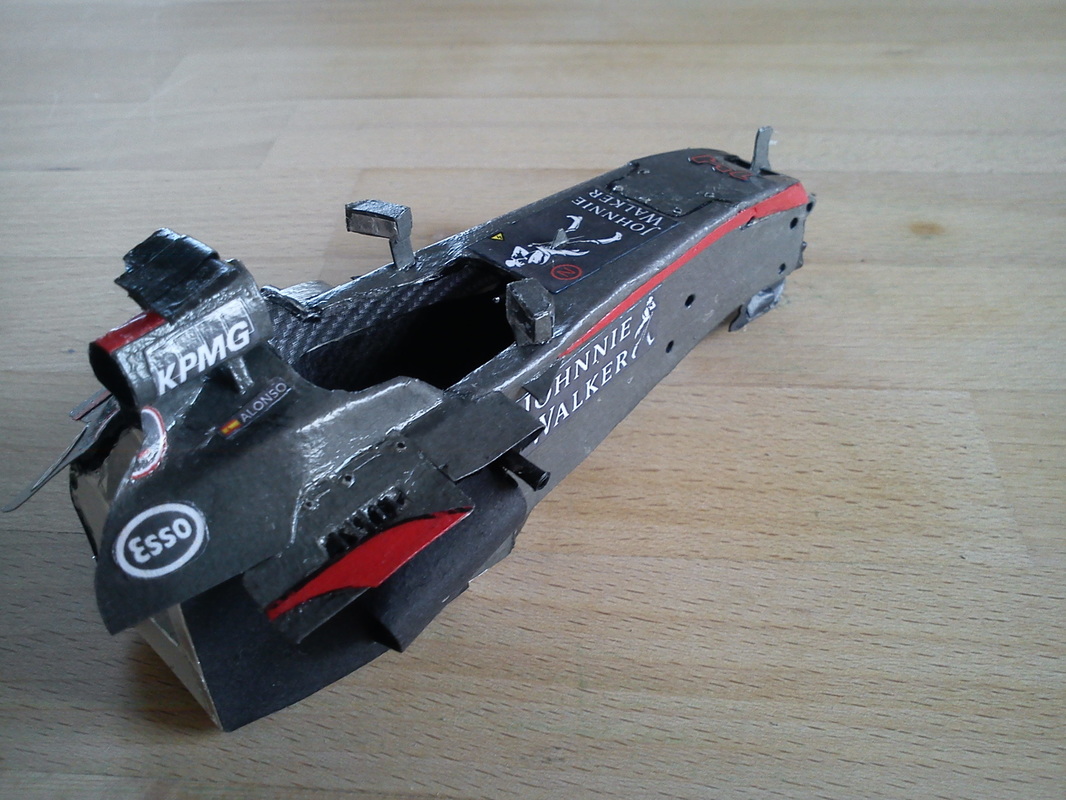
|
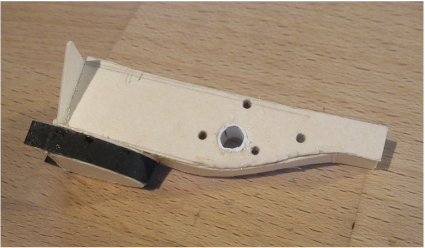
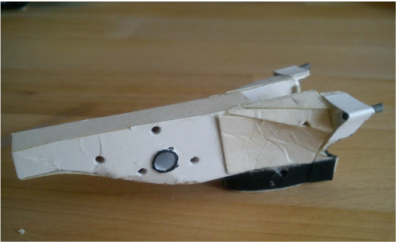
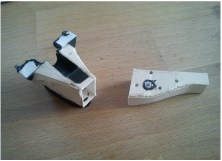
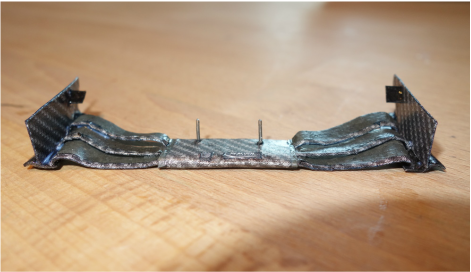
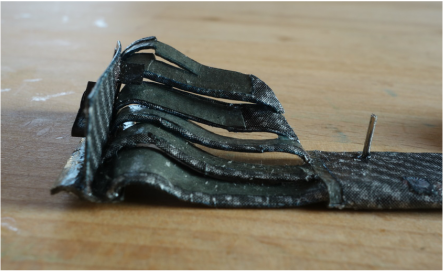
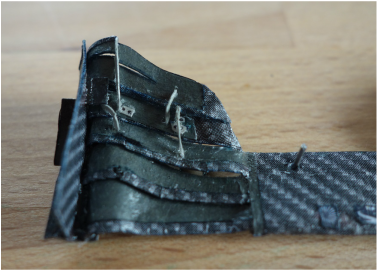
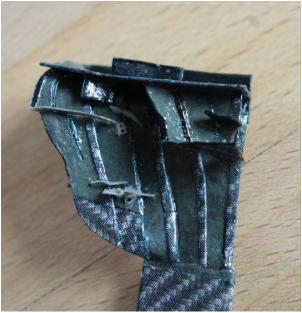
Floor
Having completed the monocoque, it was time for the floor. As you already know, it is composed of layers. 2 black ones served as a base, on both sides of which I glued pieces of the according shape to achive the desired shape (a bit deeper middle section). |
|
After that, a layer of thin black paper was glued on top, and then all the details were added. Check them out:
The completed floor (88 pieces)
|
Wood also has its role in F1
|
The rear area. Some nice curves :)
|
And the splitter. I'm particulary proud of the little inward cut .
|
The floor was a pleasant component to build. The most difficult thing was to correctly design the shape. Also, accurately recreating the underside was tough. But apart from that, it was quite enjoyable.
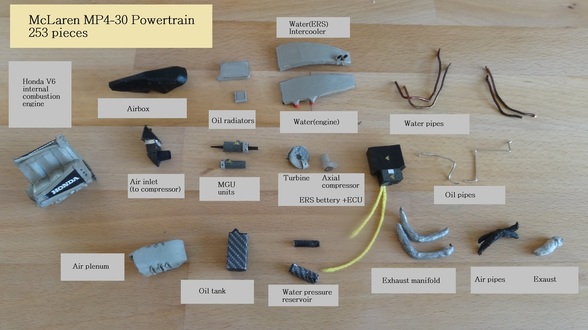
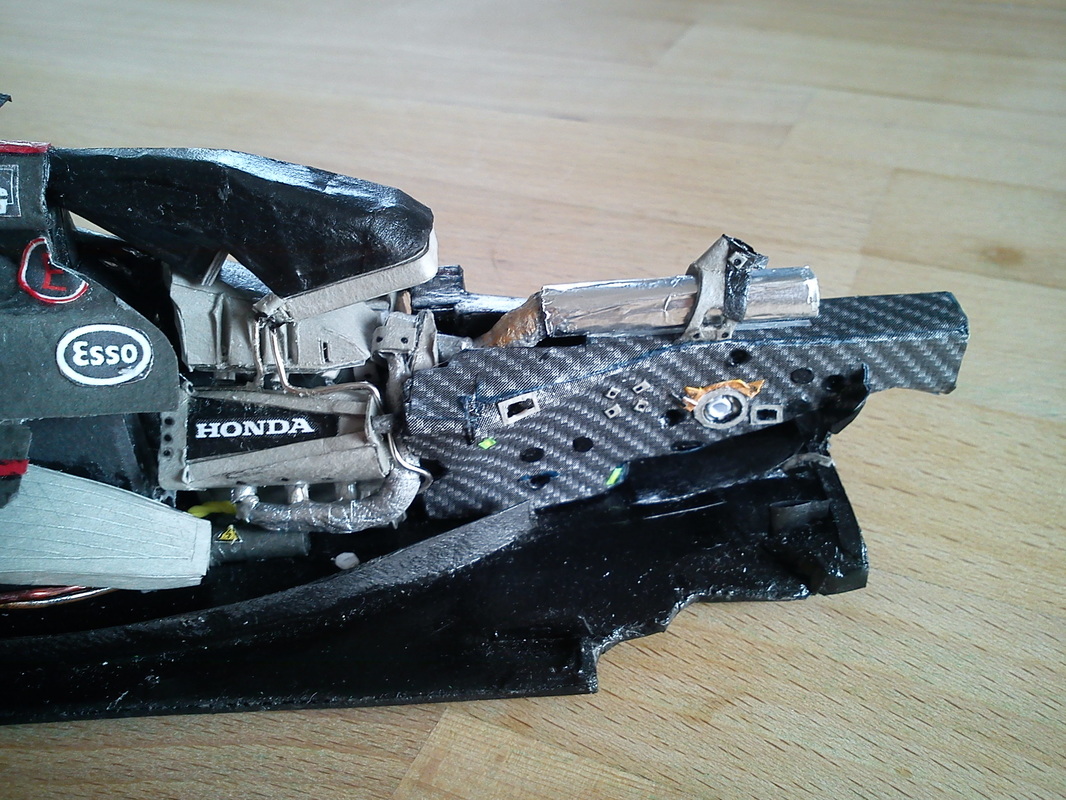
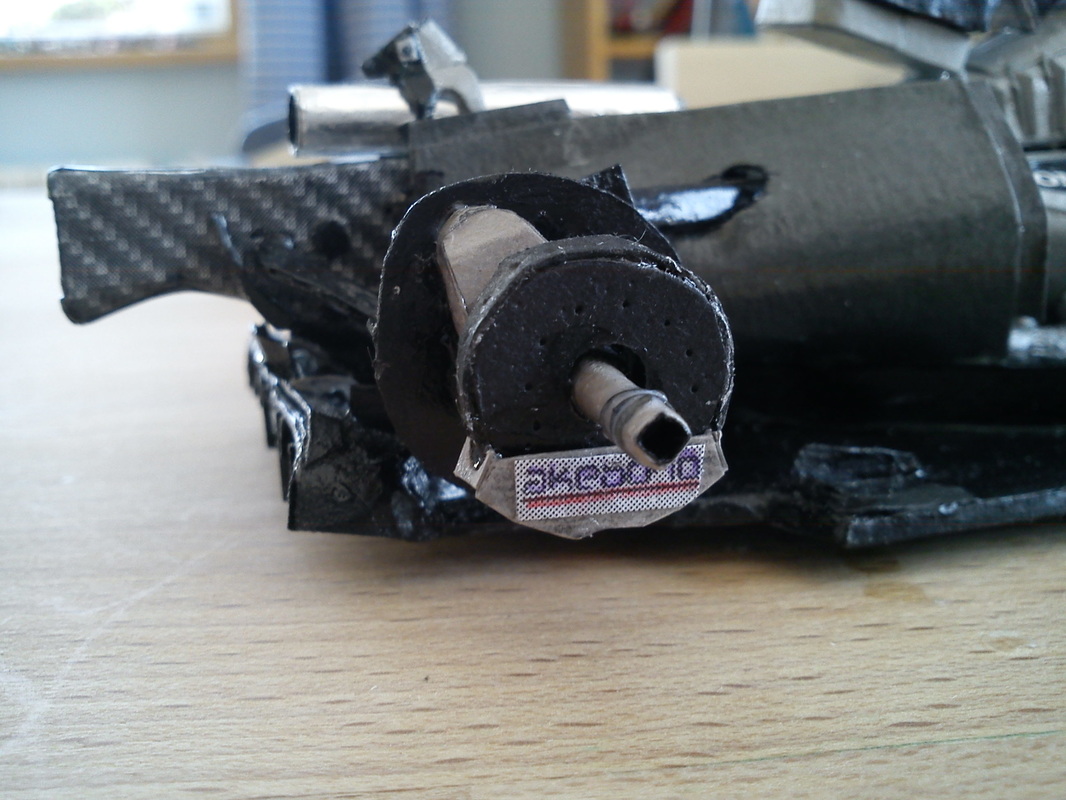
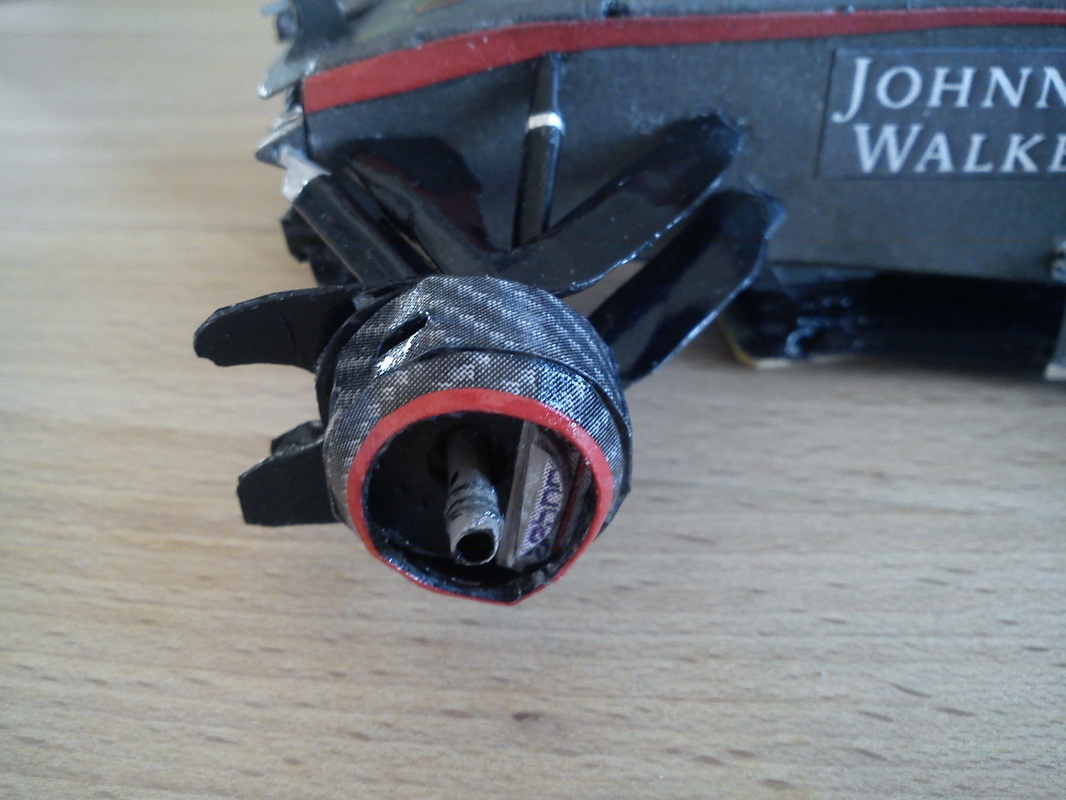
Powertrain
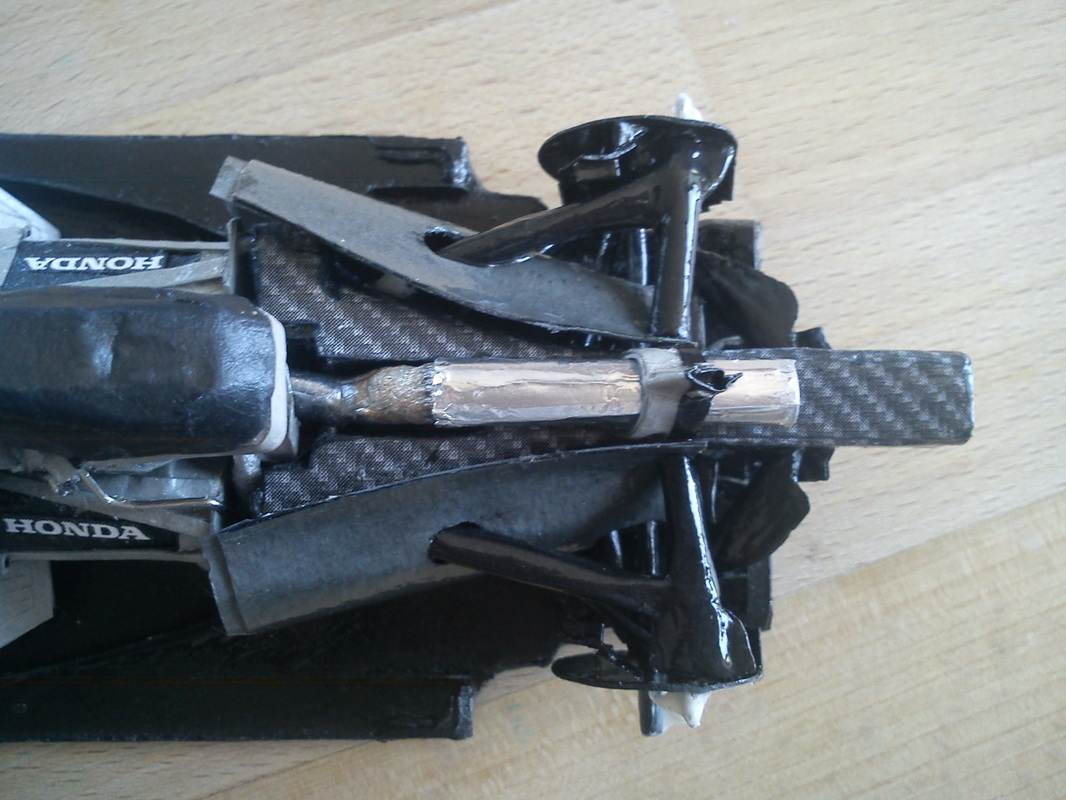
The powertrain is probably the most complex area of the car to build, as info and/or photographs of it are quite rare and unspecific. Still, it's also a fascinating topic for research. Below, you can browse a gallery of all single components I built over a period of about two weeks.
Most changes are noticeable in the cooling layout, which I managed to figure out with relative certainty. Pipes of various thicknesses are a novelty. Every other component is reworked and more detailed that last time.
|
Here's a summary of all the components used:
And if you're interested in what the real powertrain looks like, below is a collection of photos and diagrams which are informative. I wouln't have made it without them. Thanks to Scarbs and Racecar enginnering!
|
| ||
Wondering how I assembled everything? Here's a time lapse you may find useful!
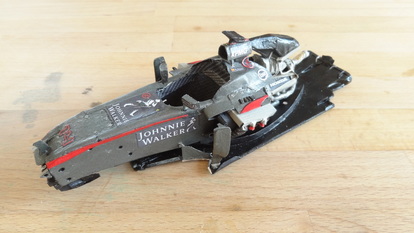
After installing all components, the car looks like this:
|
|
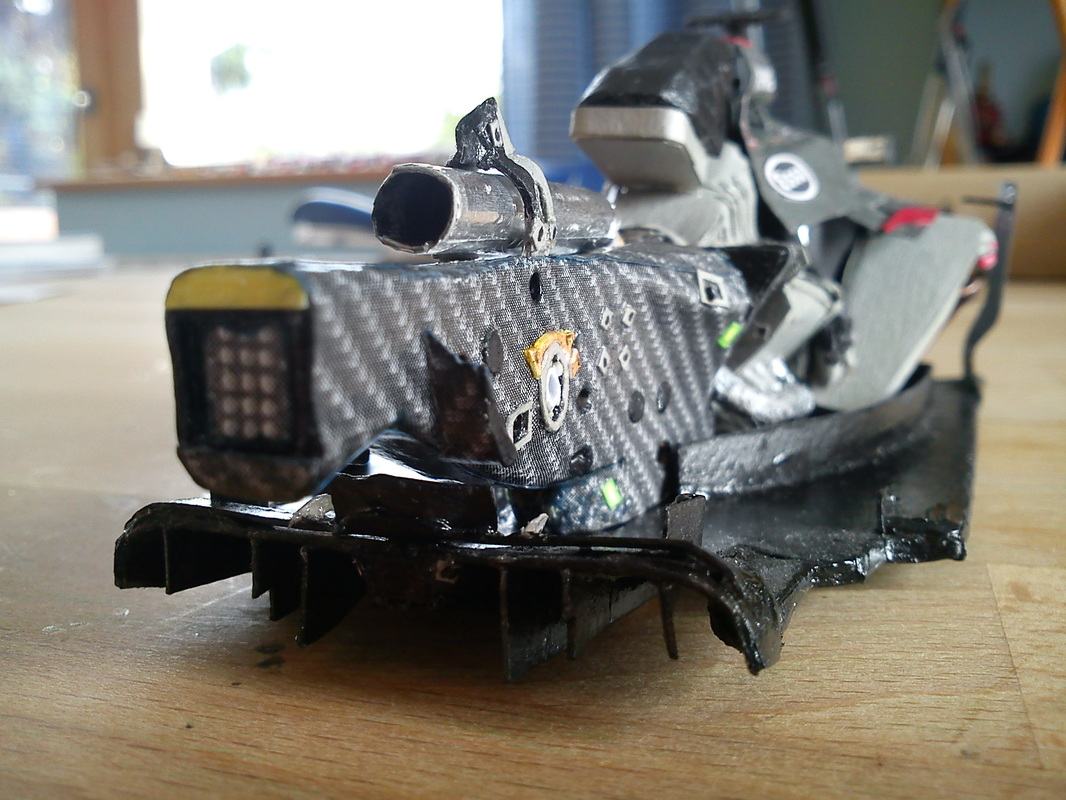
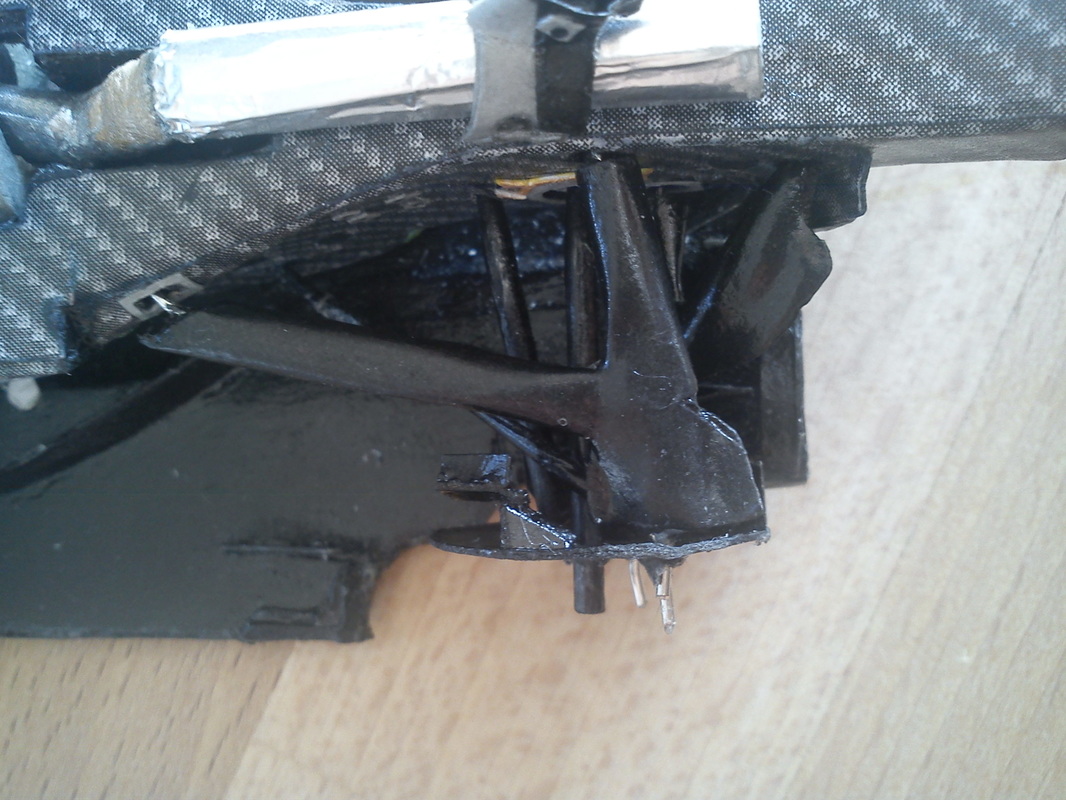
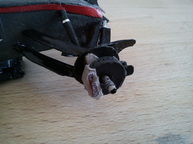
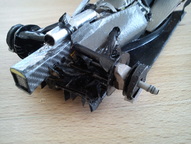
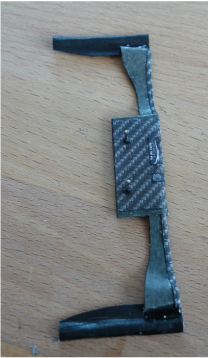
Gearbox
Building the gearbox was a lot of fun. Initially, I had trouble figuring out the layout, for example the pickup points for the suspension. Also, I wasn't sure wether the crash structure was structurally part of the GB housing. I planned the suspension mounts, the fitting to the engine, the engine cover contact points and did some drawings.
Having an idea what to do, I started with the basic shape, which you can see below. For the first time, I replicated the triangluar slope towards the front, the screws which attach to the engine and the driveshaft bearings.
|
|
|
|
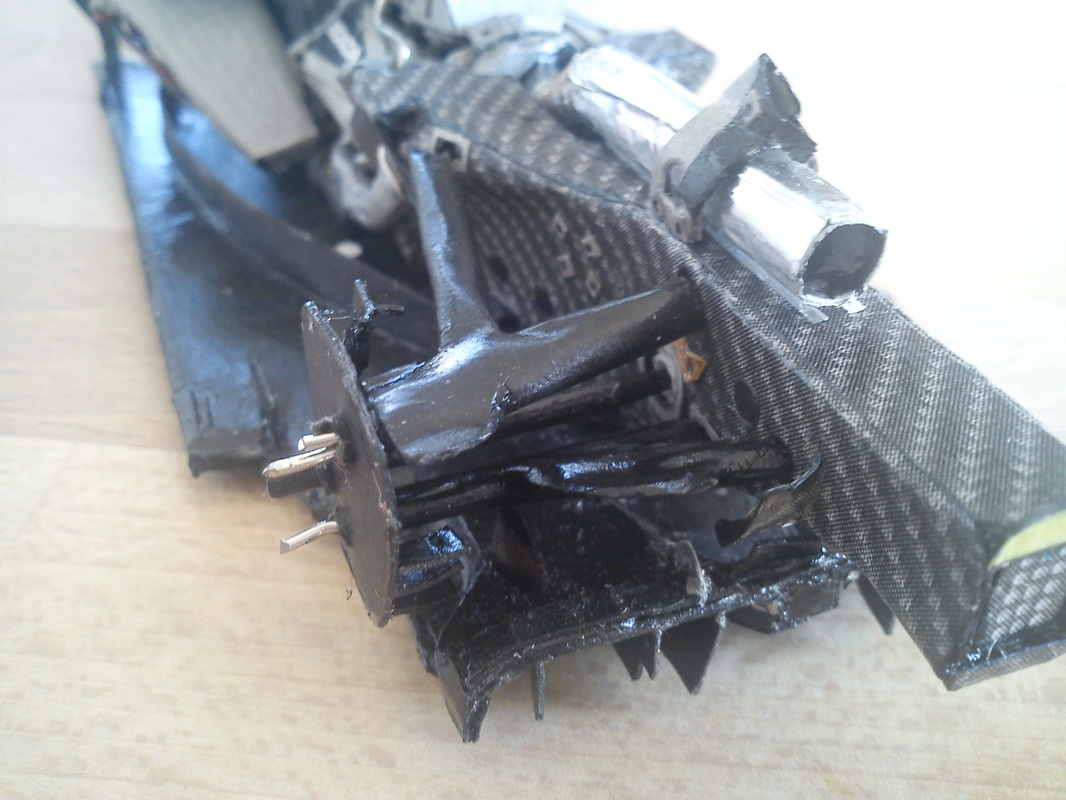
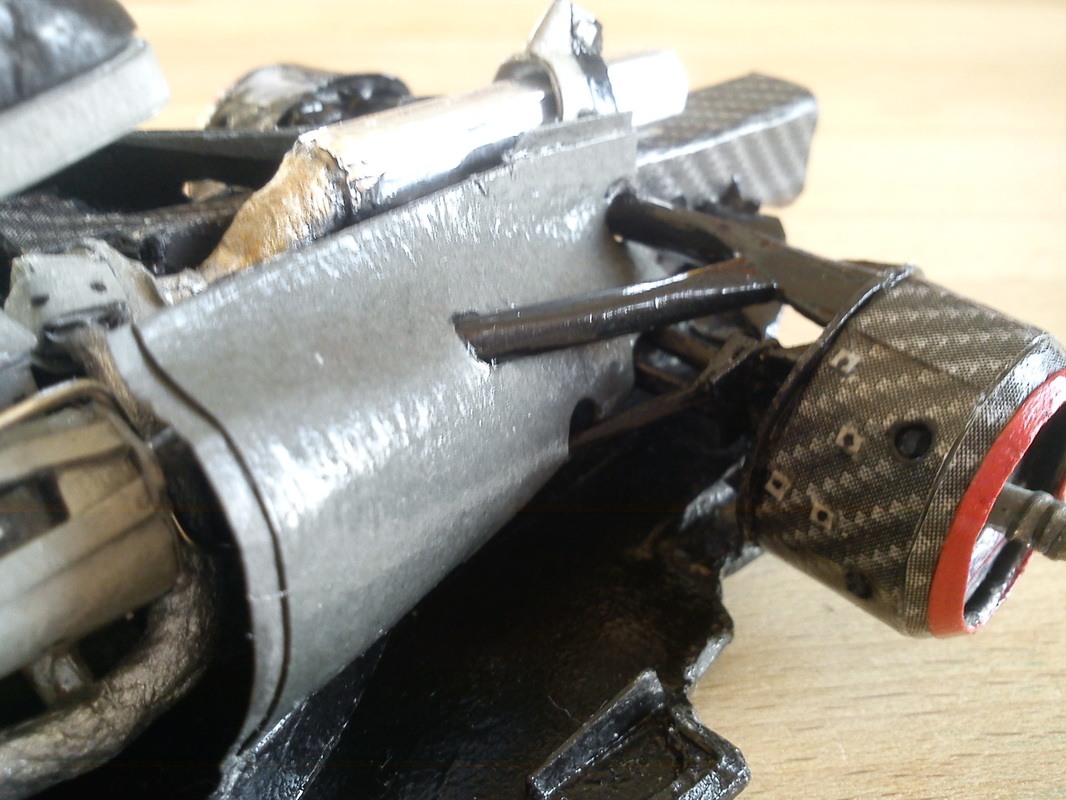
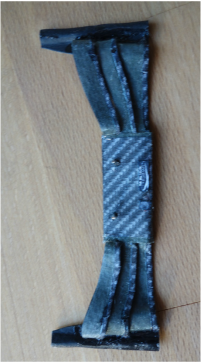
However, my drawings were wrong and the whole crash structure stretched too far back. I had to cut it and gue it back together, shortening it in between. Then I covered it with CF and added details. The gearbox totals at 108 pieces. On the left, you can see the rear wing beam mounting point.
|
And here is the completed gearbox.
|
|
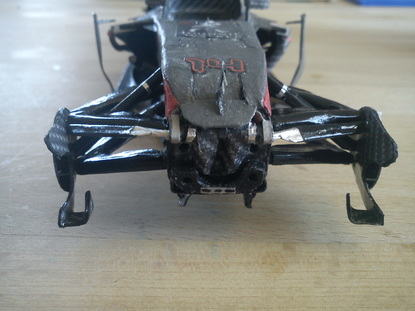
After I installed it to the car, the result was satisfying. It's definitely much more accurate than F1W05's gearbox. I'm particulary proud of the rear area - the lights are quite nice, and the two almost vertical aero elements behind the lower wishbone which work in conjunction with the floor are so cool!
|
|
Suspension
Building the suspension is maybe the toughest, but also most satisfying area of the car. You've got so many constraints - mounting points, wing mounts and bodywork clearance. Also, the positioning has to be exact, because it will later define the rake and ride height.
Firstly, the wishbones had to be constructed. But before I could start, I had to figure out the layout, which wasn't easy at all. Especially at the rear, where the lower WB sits at the back, and the trackrod is placed in front of the driveshaft. I got a lot of help on F1T, for which I'm grateful.
For the construction I used cardboard tubes, which were cut into the correct length and bonded with the help of paperclips. New was the addition of aerodynamic fairings, which definitely made the wishbones more realistic. Then, the brake ducts followed. Nothing special there, I just tried to work cleanly. A preview of the rear:
|
|
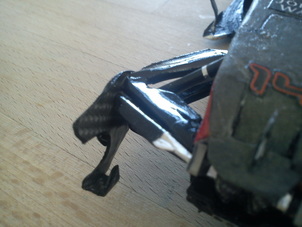
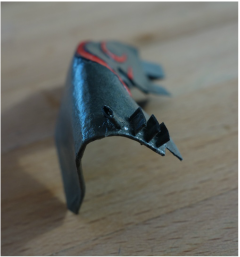
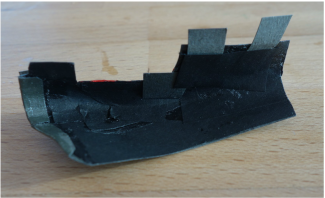
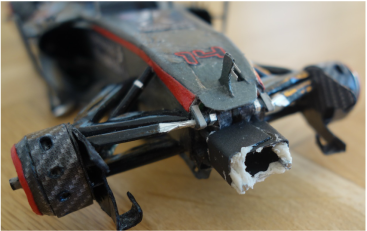
A further difficulty at the back was an unremovable bodywork panel through which the upper WB, the pullrod and the driveshaft fit. Here it is:
|

|
And the installed front suspension with its ducts:
|
And a more detailed view:
|
Moving on, the brakes followed. I tried to be more precise than last time by including the uprights - the link between the wishbones and the wheel axles. On top of them, the brake calipers and discs were mounted. Also note the neat detail which is the axle thread.
|

|
|
|
After the brakes were finished, I could go on and fit their covers. I'm satisfied with their quality, the carbon ring and the colour inner side are neat.
|
|
And the current state of the car:
Some more suspension pics are available below:
Bodywork
After installing the suspension in place, nothing more stood in the way of the bodywork. It consists of 3 panels - one on each side and one engine cover on top. The challenge here was to achieve such a shape that they fit without any gaps while still being removable.
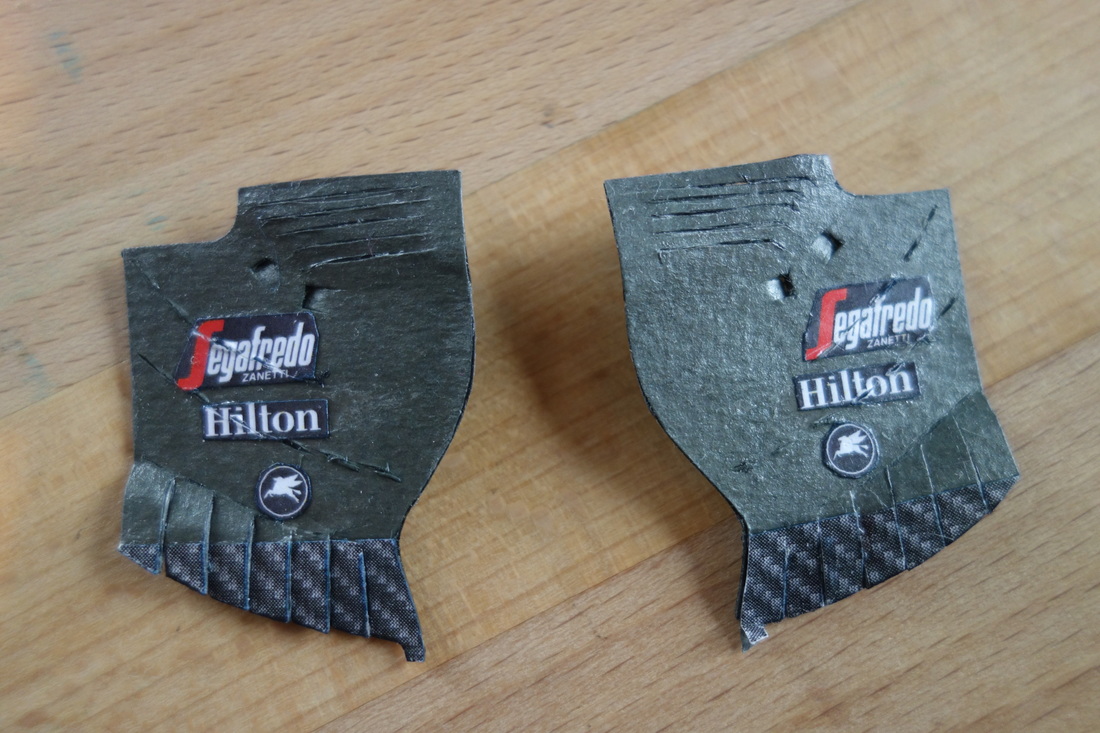
I started with a rough template from paper. I then transfered it onto cardboard and tried to bend it into shape, adding/removing material where necessary. The side panels have a complex curvature, so I had to cut the cardboard. I used the red decals to disguise the cuts, and only a slight line at their back is now visible. They consist of 2 layers: a black thin base, which is covered with grey and then, in additionally cut slots, the red stripes were fitted. And finally, the details such as fins, were added.

|
The vanes at the front
|
A look inside reveals the black base layer and the pieces used to hold the panel in place.
|
The top cover consist of two halves. The red stripe masks the transition and gives it a clean look. I'm quite pleased with the curvature. You can see some supports on the inside, and the camera is mounted way stiffer than on previous cars - a little beam protrudes from it inside the panel. With applied decals and varnish, that's what I've got:
|
|
Left: real bodywork has curves
Below: the inner side with structural supports 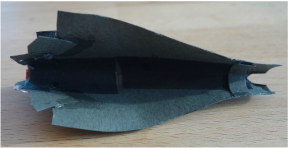
|
And with fitted panels, the car looks like this:
|
|
Wings
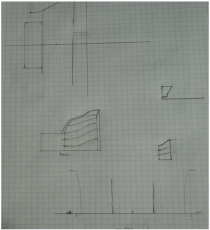
Time for one of the most entertaining areas of the car, the front and rear wings. As always, I started with drawings, and this time, I'll share them with you.
|
|

|
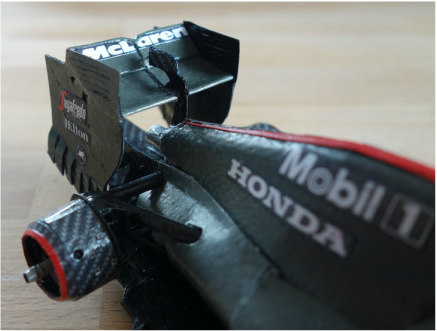
As usual, I started with the rear wing and its endplates. In my previous experience, the connection between the endplates and the flaps was a weak point, so I introduced two ribs aiming to enforce the bond. Not much more to say about that stage of the project, except the many vanes and cutouts which I had to take into account.
|
|
Then, I made the wing profiles. The ribs fitted neatly inside and gave shape to the wing:
|
|
Fixing the completed rear wing to the car wasn't that much of a challenge, since there are two slots on the floor which hold it alongside the central pylon. This enabled a comparatively stiff connection. The pylon though brought some headaches, as it had to be positioned in a narrow zone and accommodate the DRS flap as well. In the end, I decided to build the DRS activator as a sepperate unit, a correct decision as it later turned out.
|

|
Moving on to the front wing, it was also built using a different technique compared to the F1W05. I used a central reenforced section (which also houses nose connection pins) and added the individual flaps one by one, glueing the endplate bases to the first one (check the FW drawing, where there's a section called mounting aid.

|
|
Here you can see how the wing gradually grew. I'm quite happy with how it turned out, the profiles are pretty much ine the shape they should be.
|

|
|
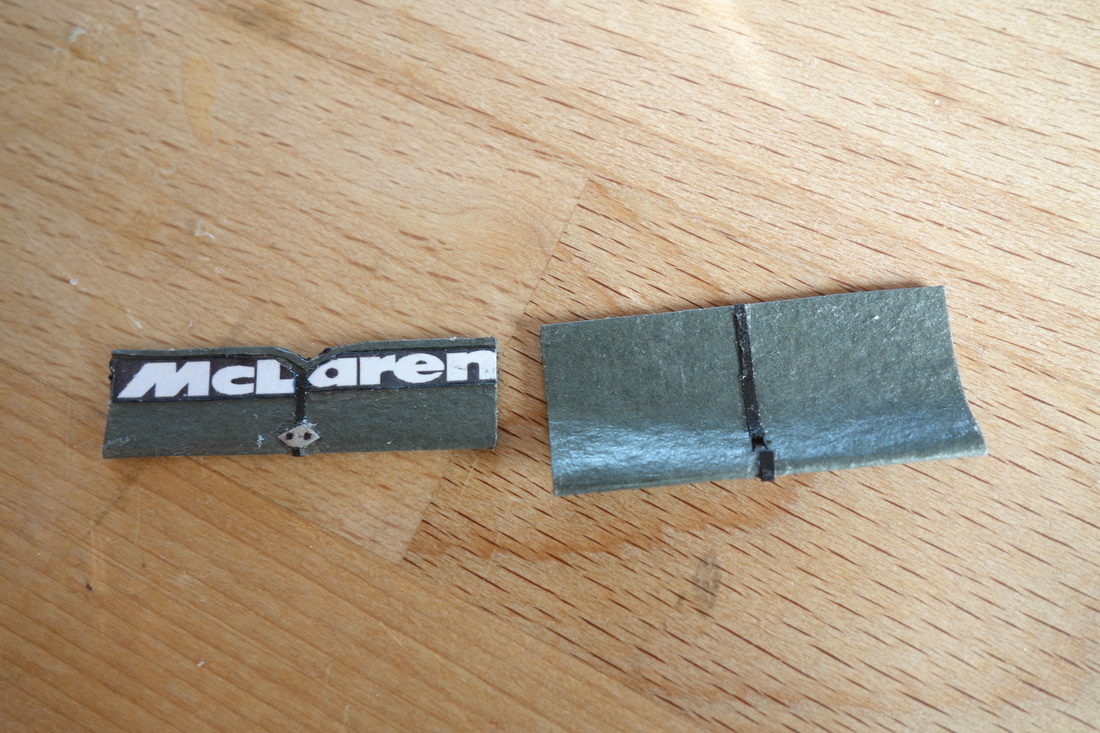
The endplates followed. Nothing special here, McLaren made my job relatively easy. The spec I built was the one raced in the latter part of the season which is evident when you look at the slot.
|
|
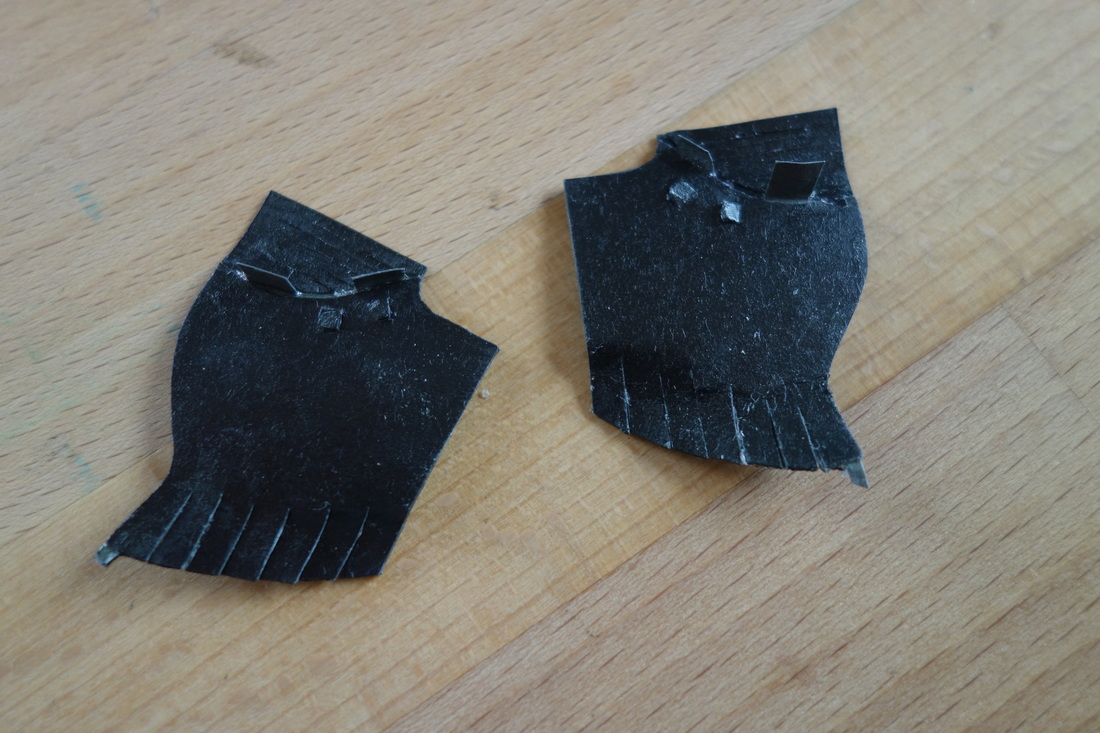
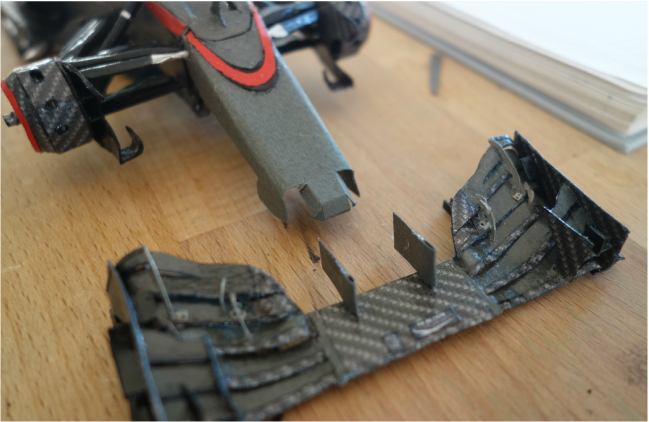
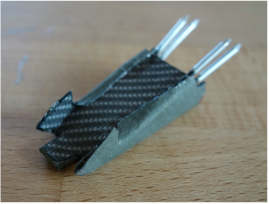
With the endplates in place, I could go on and add the remaining two flaps. They were slightly trickier due to their complex curvature. Also, they are structurally connected to the endplate bases only, and must therefore be more precise. A real challenge were the metal connectors for setting the angle of attack. They are so small that I only hardly could install them properly.
|
|
The cascades and underside srakes were the final touches.
|
|
Here is the completed front wing:
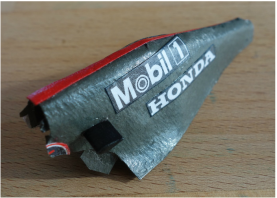
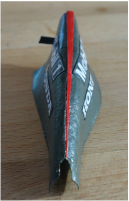
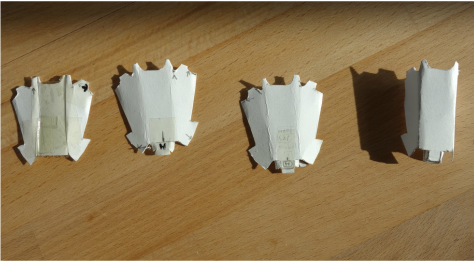
The nosecone followed. I started with a framework which holds the nails used for fitting to the chassis. A novelty was that I cut off the heads of the nails so that the could be glued more stably. Then I worked out the shape of the cover, which took me four attempts to get right. Once that was done, I glued two structural supports on each side and added the cover. Its red stripe was achieved exactly the same way as the sidepods' - by slotting the cardboard. Finally, I closed the nosecone's bottom and shaped the little forward extension on which the "Honda" decal stays by using a 400 grit sandpaper.
|
|
Here are the profiles which will accommodate the FW pylons:
|
The completed nosecone looked like this:

|
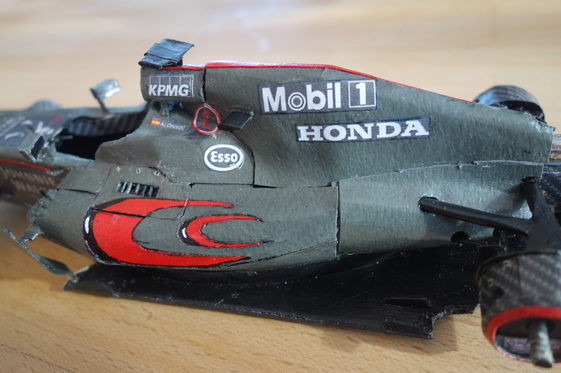
Then it was just a matter of applying decals, attaching the FW to the nosecone and varnishing. Which brings us here:
***
Here we go! Another incredible journey is over. After approximately 70 days of work spread over a period of almost half a year, I completed my most ambitious project yet and I have to say I’m pleased with the result. But this build was only possible because of you, my wonderful viewers! Thank you for taking the time to visit my website; showcasing my art is such a pleasure! I hope that following the build was entertaining and that I’ve managed to convince you that cardboard is a miraculous material. I’m planning to up the scale once more and my next car will be a 1:10 baby. 2016 will be an eventful year for me and thus the next build may take a bit more time, but there will definitely be one! So stay tuned!
Thanks again guys, you are a fantastic audience. And now, 1188 pieces, or 91 grams of cardboard want to present themselves to you:
